Rockhounding Tools: The Beginner Kit That Actually Helps
Online, rockhounding kits come stuffed with gadgets. In the field, a handful of simple tools do nearly all the work, and the most important one sits on your face. Here is the kit that actually earns its space in the bag, and the rules that decide which tools you can use where.
Quick answer
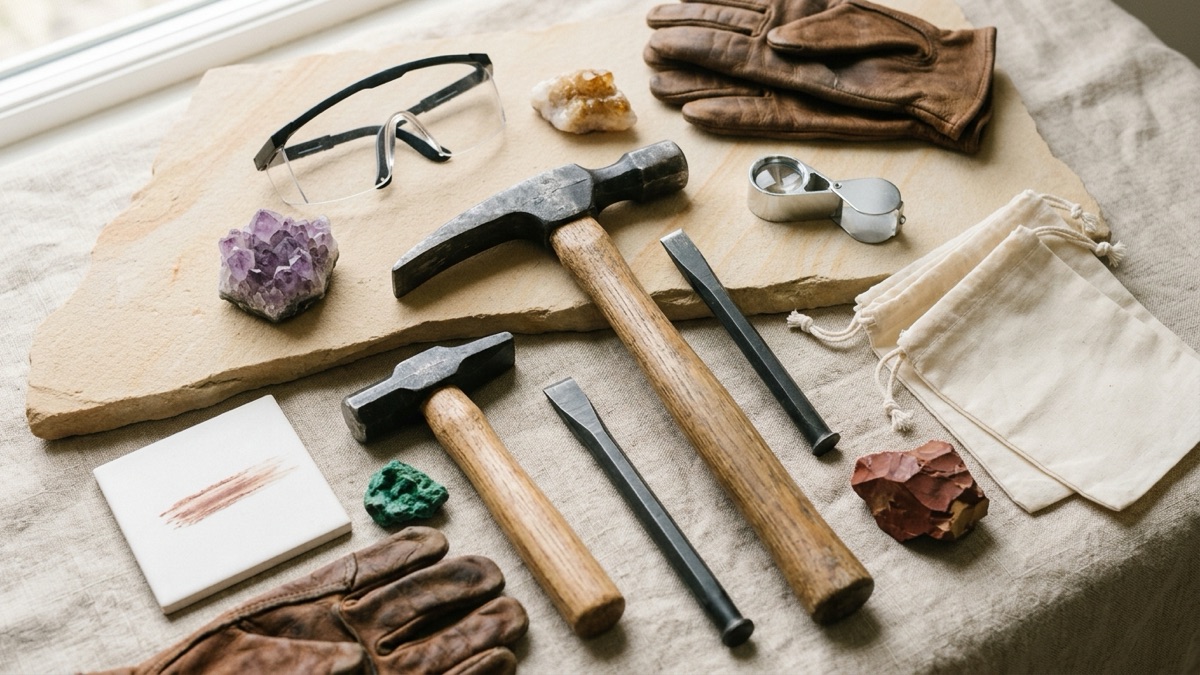
A beginner rockhounding kit needs a rock hammer, safety glasses, gloves, a 10x hand lens, a streak tile, a small magnet, sturdy bags with labels, a map or GPS, water and a first aid kit. Add a crack hammer and chisel for hard rock. Leave power tools at home: BLM and Forest Service rules ban them.
Key takeaways
- Start with a pick-style rock hammer; add a crack hammer and chisel only when you work hard rock.
- Safety glasses go on before the first swing, every time.
- A 10x hand lens, a streak tile and a fridge magnet cover most quick field tests.
- Label every bag before the rock goes in. A find without a location loses most of its story.
- On BLM land, no motorized or mechanical tools (metal detectors are the exception), and some national forests limit even hand digging.
What goes in a beginner rockhounding kit?
The USGS booklet Collecting Rocks says a beginner needs only two specialized tools: a geologist's hammer and a hand lens. Everything else on this list is either safety gear or things you already own.
| Tool | What it does | Beginner note |
|---|---|---|
| Rock hammer | Breaks off and trims specimens | Pick end is the most versatile style |
| Safety glasses | Stops flying chips | Non-negotiable when hammering |
| Gloves | Protects hands from sharp edges | Leather or heavy work gloves |
| 10x hand lens | Shows grains, cleavage and crystal faces | Hang it on a cord so you do not lose it |
| Streak tile | Shows a mineral's powder color | A small unglazed porcelain square |
| Small magnet | Checks for magnetism | A fridge magnet is enough |
| Bags, labels, marker | Keeps finds and locations together | Write before you bag |
| Map, compass or GPS | Keeps you on the right land | Know the land manager's boundary |
| Water and first aid | Keeps you safe | More water than you think |
Rock hammer or crack hammer: which do you need?
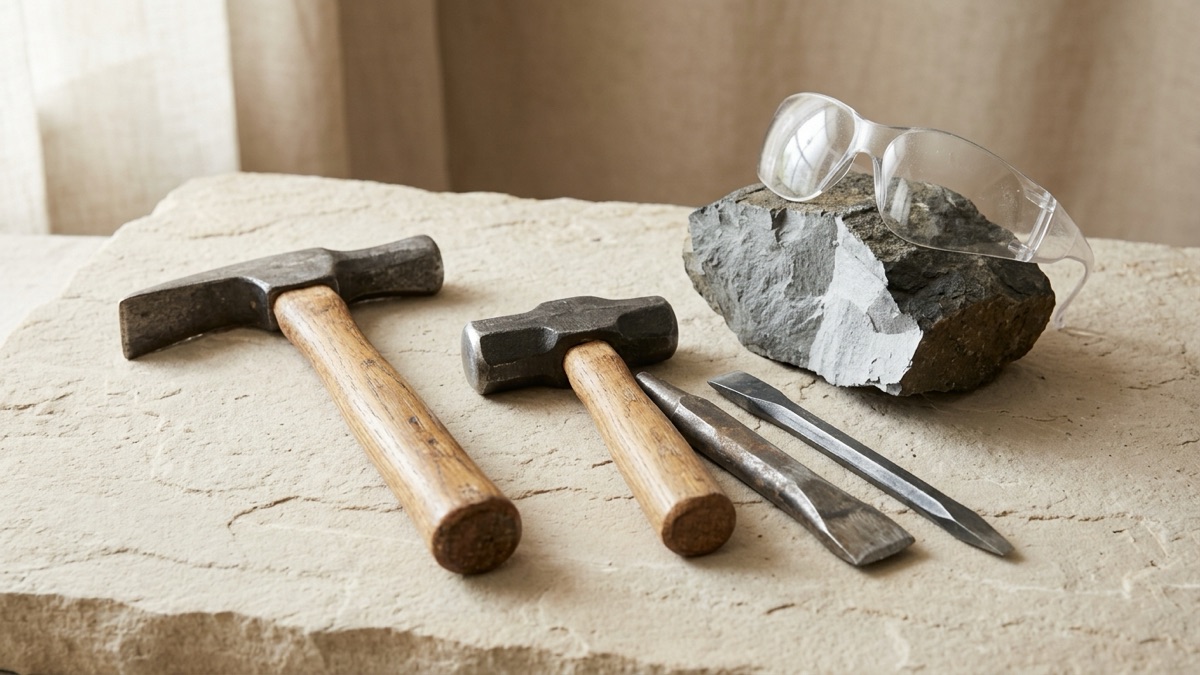
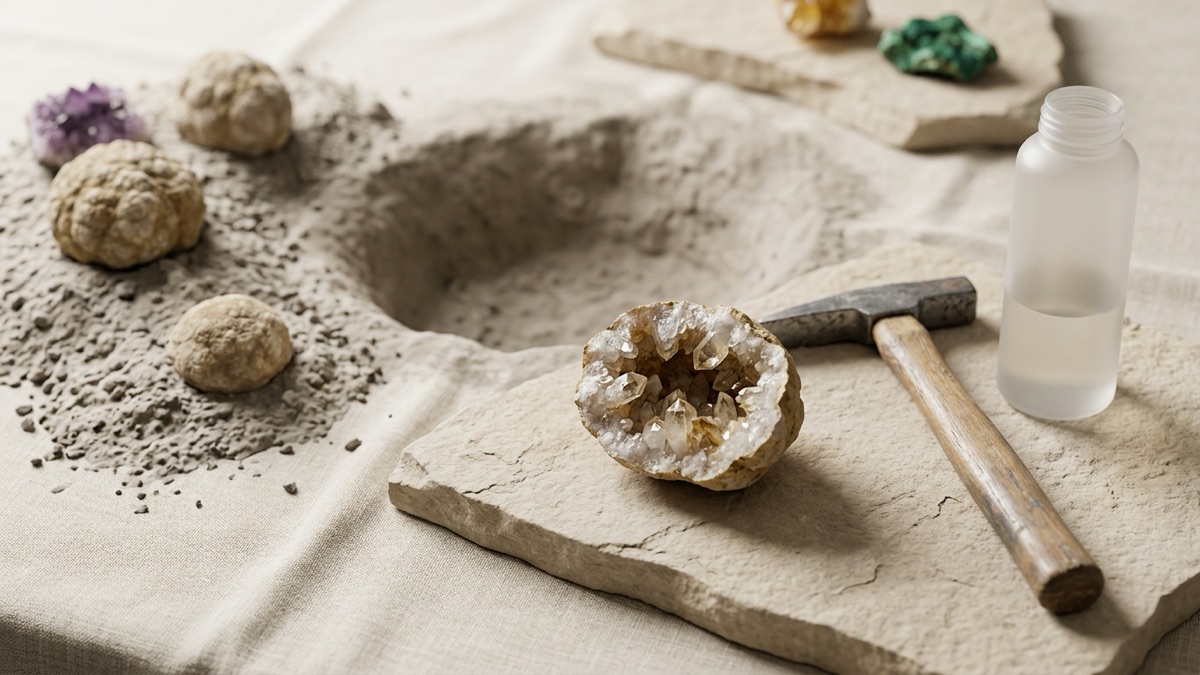
A rock hammer (also called a geologist's hammer or rock pick) is the classic rockhounding tool. The USGS describes its head as having one blunt hammering end, with a pick on the other end in the most versatile and widely used style. A second style has a flat chisel end instead, which the USGS says is used mostly in soft sedimentary rocks and for collecting fossils. You use it to knock off a fresh piece and trim it to a size worth keeping.
A crack hammer is a short-handled, heavy mini sledge. It is for the jobs a rock hammer bounces off: splitting hard rock and driving a chisel. The USGS notes that sledge hammers can break especially hard ledges of rock and that cold chisels often make it possible to loosen specimens.
Which to buy first? The pick-style rock hammer. Many sites need no hammer at all: BLM's Garnet Hill page says you can find garnets by careful rock breaking or simply by searching the surface and drainages. Add a crack hammer and a chisel or two once you know you enjoy working hard rock.
Why are safety glasses non-negotiable?
Rock breaks into sharp, fast chips, and your eyes are the softest target nearby. OSHA's eye protection rule for workplaces, 29 CFR 1910.133, requires eye protection wherever flying particles are a hazard, and points to the ANSI Z87.1 standard for protective eyewear. That is a sensible bar for a hobby too: pick glasses sold as meeting ANSI Z87.1, and wear them whenever you hammer, chisel or scratch.
The Utah Geological Survey lists eye protection, gloves and a hard hat for anyone working with tools, and the USGS adds hard-toed shoes when you are dislodging specimens. A hard hat matters most below cliffs or in pits; on a flat gravel bar, a sun hat is fine.
Heads up
Hammer safety includes the people around you. The Utah Geological Survey advises never working directly above or below anyone on a slope, not working alone, and telling someone your schedule.
Which testing tools earn their space?
Three small items handle most quick checks in the field:
- A 10x hand lens. The USGS says six to ten power is best for looking at mineral grains, and the Mineralogical Society of America (MSA) lists a 10x hand lens or jeweler's loupe in its identification kit, mainly for checking cleavage on broken surfaces.
- A streak tile. A piece of unglazed porcelain; the MSA says a 2 inch square is plenty. The MSA notes that many minerals leave a powder of a different color than the mineral itself, which makes streak a handy clue. Minerals harder than about 6.5 leave no streak, because they are harder than the tile. Our streak test guide explains how to read the results.
- A small magnet. The MSA says a fridge magnet is fine as long as it is a fairly strong one. It picks out magnetite, which is strongly magnetic, and rocks that contain it.
A pocket knife rounds out the kit as a hardness tester, scratching minerals softer than about 5 to 5.5. The MSA warns that Swiss Army knife steel is harder than most cheap pocket knives, which can throw hardness tests off. For a fuller set of scratch testers, see our Mohs hardness test kit guide.
Try it
Scratched your find with a knife or glass? Enter the result in the free Mohs hardness scale tool to see which minerals fit, then narrow them down with the rock identifier.
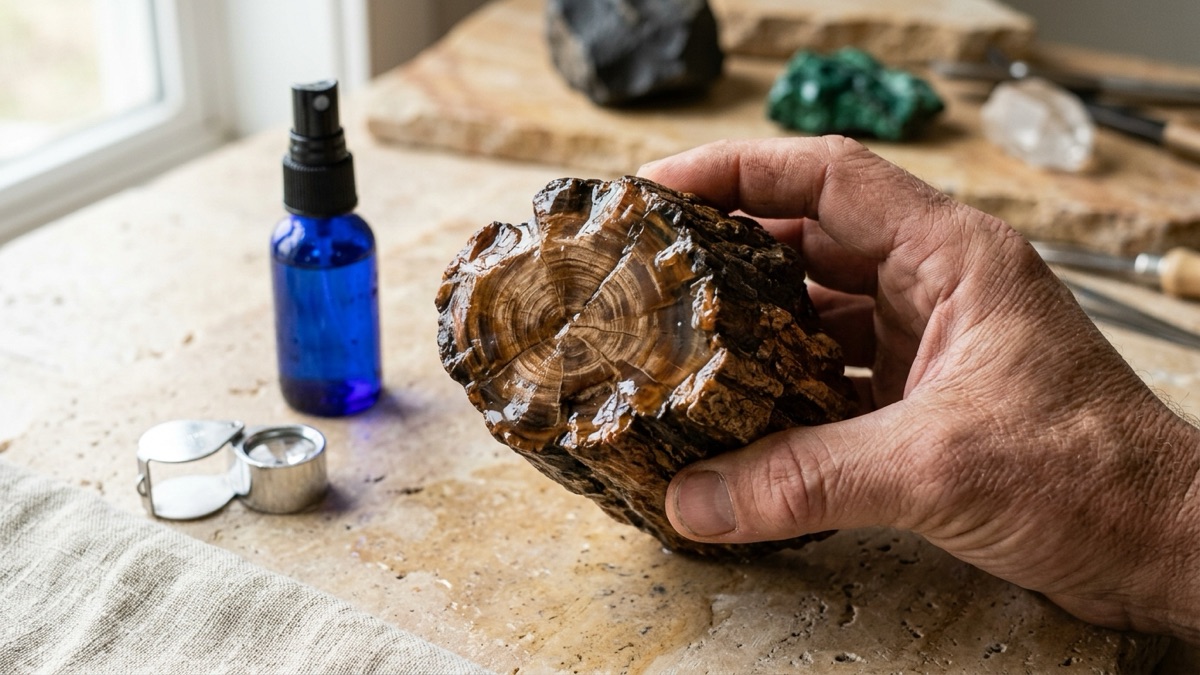
A small spray bottle is the unofficial fourth test tool. A dusty, dry rock can look dull and gray; a quick spray washes off the dust and deepens the color for a moment, which helps you spot banding in an agate or the grain of a jasper. Use water, and never lick a rock to wet it.
How should you carry and label your finds?
The USGS lists a knapsack, bags and paper to wrap individual specimens, and a notebook for field notes. Its most important tip is about labels: record where each rock was found at once, because many collections have become mixed up when collectors did not. The MSA includes blank specimen labels and pens in its kit for the same reason.
A simple setup:
- Sturdy zip bags or cloth sample bags, one find (or one site) per bag.
- A permanent marker or masking tape, to write the date, place and land manager on the bag before the rock goes in.
- Newspaper or paper towels to wrap crystals and fragile pieces so they do not grind against each other.
- A notebook with the same details, plus a sketch or note of where the rock sat.
What about shovels and picks?
Some sites call for digging. For the Dugway Geode Beds in Utah, the Utah Geological Survey recommends a shovel, a pick, safety glasses and a hammer, and BLM's page for the site lists a pick, hammer, chisel, center punch, carbide-tipped saw or pipe cutter as tools visitors use to get geodes out and open.
Digging rules change from place to place, though. The Tonto National Forest in Arizona allows collecting without a permit only from the surface, with no digging with hand tools, and asks that any disturbance stay no bigger than a 32 ounce water bottle; digging needs authorization (page updated September 10, 2026). The Forest Service's national guide asks everyone to fill all holes before leaving.
Navigation, water and first aid
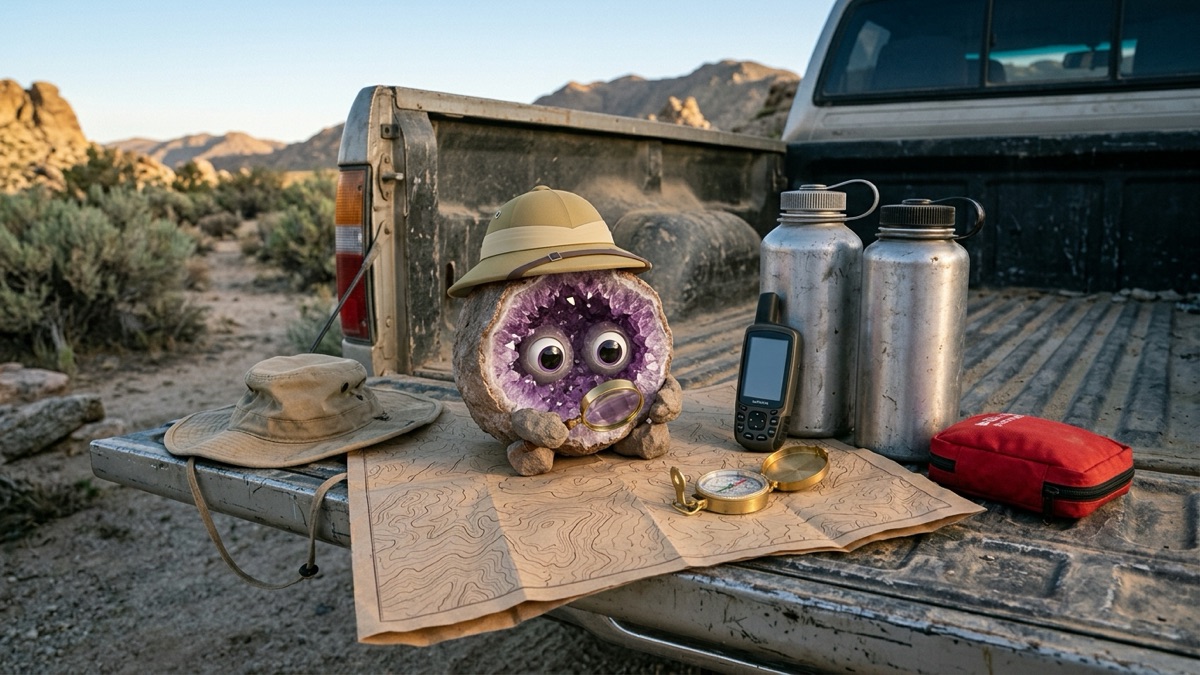
The National Park Service's Ten Essentials list is a good backbone for any trip: navigation (map, compass and GPS), sun protection, extra clothing, a light, first aid supplies, fire, a repair kit and tools, extra food, water and emergency shelter. For the Dugway Geode Beds, the Utah Geological Survey adds plenty of water and a working spare tire, and recommends a high-clearance vehicle. A map or GPS also keeps you on the right side of land boundaries, which matters more to collecting than any hammer.
What can you skip?
- Power tools and explosives. On BLM land, 43 CFR 8365.1-5 says no explosive, motorized or mechanical devices, except metal detectors, may be used to collect. The Forest Service guide says no mechanical equipment may be used.
- A rare-earth magnet for meteorite checks. Washington University in St. Louis recommends a cheap ceramic fridge magnet, because a rare-earth magnet attracts many ordinary Earth rocks.
- Strong acids. The MSA kit includes dilute acid with safety warnings, but a beginner can check for calcite with a few drops of vinegar. See our vinegar fizz test.
- Giant kits. Buy the hammer, glasses and lens first. Add tools when a real trip shows you need them.
Which tools are allowed where?
| Where | Hand tools | Power or mechanical tools | Metal detector |
|---|---|---|---|
| BLM public land | Yes, with negligible disturbance | No | Yes |
| BLM wilderness | Non-motorized hand tools only | No | Check with the local office |
| National forests | Varies; some allow surface collecting only | No | Generally yes, but not for prospecting on someone else's mining claim |
| National parks | No collecting at all | No | Only if broken down and stowed |
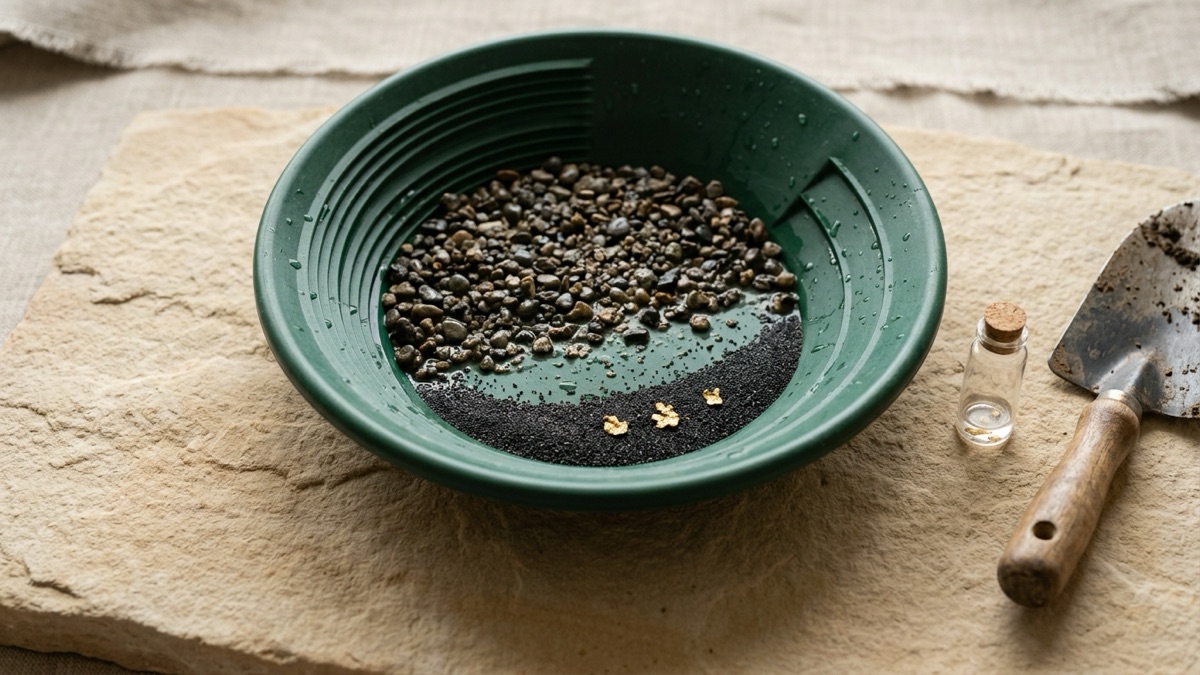
BLM's FAQ notes that a permit may be needed if collecting involves certain equipment or more than negligible surface disturbance, so call the local office if you plan anything bigger than hand work. Our guide to rock collecting rules covers limits and permits in full, and the rockhounding for beginners hub covers where to start and how to stay safe. Gold panning starts with a simple pan and has its own rules on BLM and Forest Service land; our guide to gold panning for beginners covers both.
The RockhoundID app, coming soon, will suggest likely matches from a photo and tell you which test confirms them.
The takeaway
Most of a good rockhounding kit is humble: a pick-style hammer, safety glasses, a 10x lens, a streak tile, a magnet, bags and a marker. Add a crack hammer and chisel when the rock gets hard, bring the Ten Essentials when the trip gets long, and leave power tools at home. Then spend the money you saved on gas to somewhere with good rocks.
The pictures in this guide are AI-generated illustrations of what to look for; real specimens vary, so trust the tests over any picture. RockhoundID guides help you narrow down what you found. They suggest likely candidates, not certain identifications or appraisals. For anything valuable, rare or possibly from space, ask a museum, a university geology department or your state geological survey, and check the collecting rules for the land before you take anything home.
Questions rockhounds ask
What is the difference between a rock hammer and a crack hammer?
A rock hammer, or geologist's hammer, has one flat striking end and a pick or chisel on the other, and is swung with one hand to break and trim specimens. A crack hammer is a short, heavy mini sledge used to drive chisels and break hard rock that a rock hammer would bounce off.
What magnification hand lens is best for rockhounding?
A 10x lens is the usual choice. The USGS says six to ten power is best for looking at mineral grains, and the Mineralogical Society of America lists a 10x hand lens or jeweler's loupe in its basic identification kit.
Can I use power tools when rockhounding on public land?
Not on BLM land, where the collecting rule bans explosive, motorized and mechanical devices except metal detectors. The Forest Service's rockhounding guide also says no mechanical equipment may be used, and some forests limit even hand digging.
Do I really need safety glasses to go rockhounding?
Yes, whenever you hammer, chisel or scratch rock. Chips fly fast and in every direction. OSHA requires eye protection at work wherever flying particles are a hazard, and geological surveys list it first among field safety gear.
What should I not bring rockhounding?
Leave power tools and explosives at home, since public land rules ban them. For meteorite checks skip strong rare-earth magnets, which pull on many ordinary Earth rocks, and skip strong acids in favor of a few drops of vinegar.
Where these facts come from
- USGS: Collecting Rocks (general interest publication): pubs.usgs.gov/gip/collect1/collectgip.html
- Mineralogical Society of America: Mineral Identification Key, identification kit: www.minsocam.org/MSA/collectors_corner/id/mineral_id_keyi2.htm
- OSHA: 29 CFR 1910.133, eye and face protection: www.osha.gov/laws-regs/regulations/standardnumber/1910/1910.133
- Utah Geological Survey: Rock, mineral and fossil collecting rules: geology.utah.gov/popular/rocks-minerals/collecting-rules/
- Utah Geological Survey: The Rockhounder, Dugway Geode Beds: geology.utah.gov/popular/rocks-minerals/rock-mineral-collecting-sites/dugway-geo
- BLM: Dugway Geode Beds, Utah: www.blm.gov/visit/dugway-geode-beds
- BLM: Garnet Hill, Nevada: www.blm.gov/visit/garnet-hill
- eCFR: 43 CFR 8365.1-5, property and resources (BLM): www.ecfr.gov/current/title-43/subtitle-B/chapter-II/subchapter-H/part-8360/subpa
- BLM: Public collection of rocks, mineral specimens and semiprecious gemstones FAQ (February 28, 2024): www.blm.gov/sites/default/files/docs/2024-02/BLM-Rock-Collection-FAQs_2-28-24.pd
- USDA Forest Service: Rockhounding Guide, FS-1091 (June 2017): www.fs.usda.gov/media/229394
- Tonto National Forest: Geology and rockhounding (updated September 10, 2026): fs.usda.gov/r03/tonto/natural-resources/geology
- eCFR: 36 CFR 2.1, preservation of natural resources (National Park Service): www.ecfr.gov/current/title-36/chapter-I/part-2/section-2.1
- NPS: The Ten Essentials (updated May 28, 2026): www.nps.gov/articles/10essentials.htm
- University of Auckland: Streak: rocksminerals.flexiblelearning.auckland.ac.nz/minerals/streak.html
- Washington University in St. Louis: Magnetic attraction and meteorites: sites.wustl.edu/meteoritesite/items/some-meteorite-realities/
Read next
rockhounding
Where to Find Geodes: The Best Places in the US